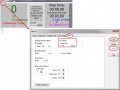
SRM-Online settings in the SRMWin-Software
|
Languages |
|---|
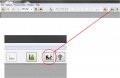
Switch to the Online - Option
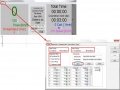
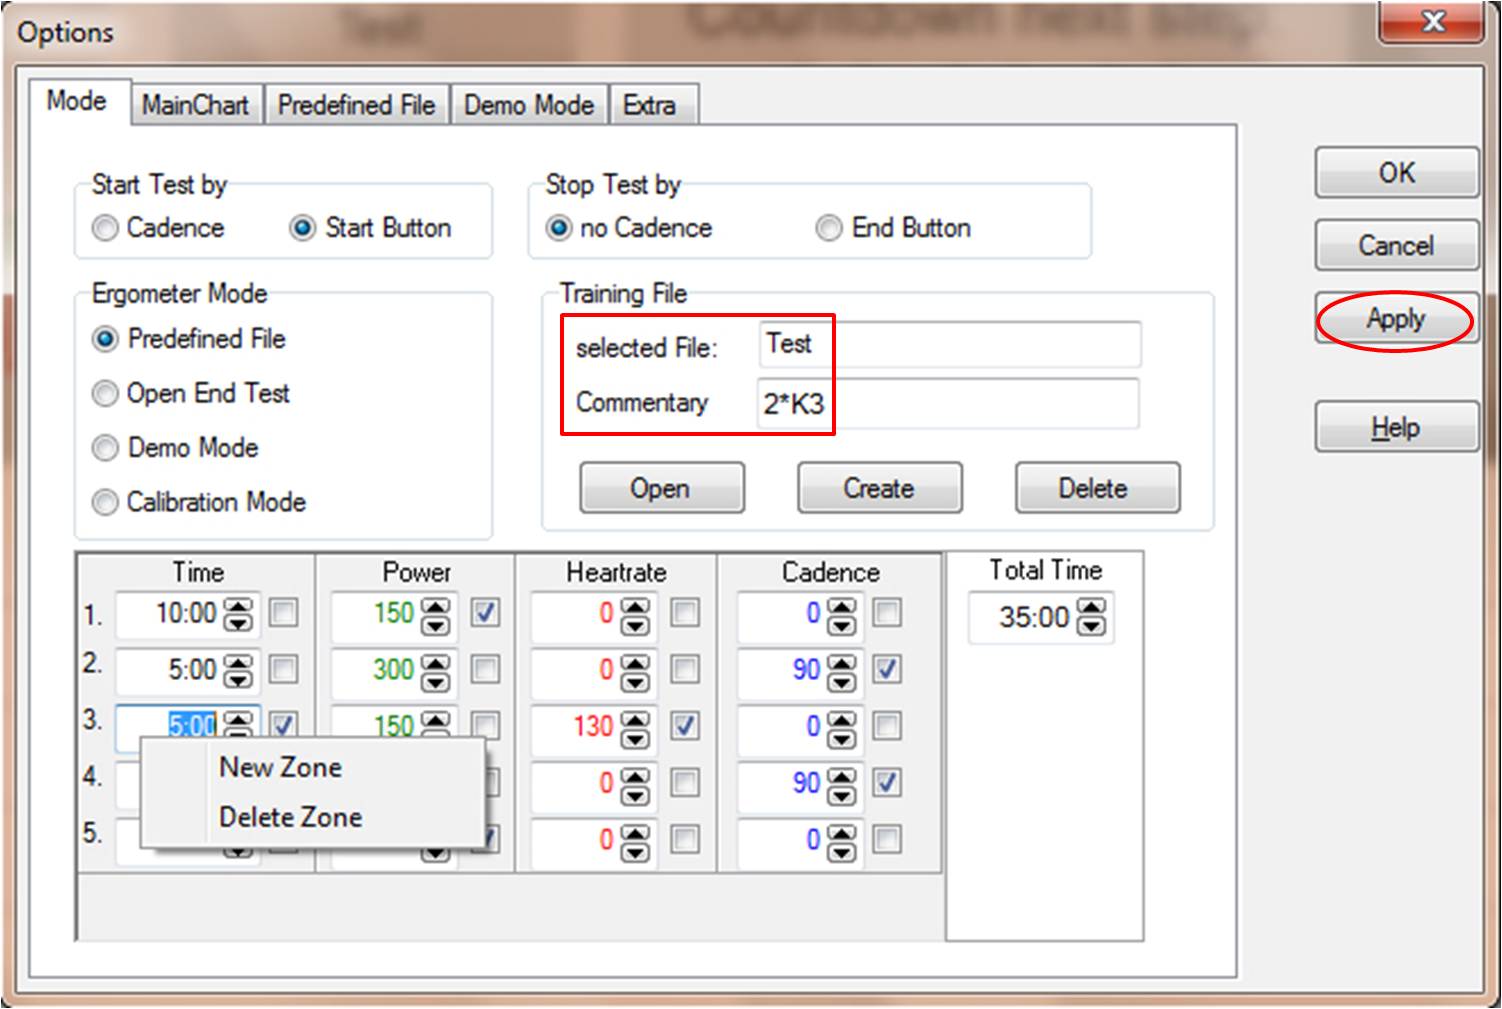
The "Mode" tab for creating new training files
Name and apply a new trainingfile
Create a new trainingfile
Automatic data storage
The "Demo Mode" tab


Contents
Installation and Landing Page of the SRM Ergometer Software

Please install the SRM ergometer software first on your controlling computer. It´s possible to choose one of the shown options directly. But before starting with the test procedure we recommend to check the settings first. Please start pedaling and check the connection indicator on the lower left corner of the screen: this indicator should be green, if not go to log tab and check the messages and the settings again.
Settings SRM Ergometer Software
Network

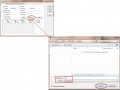
Choose a free and valid IP address (192.168.0.x) for your computer in the same sub network as the SRM Ethernet Torque Analysis Box (To install the Torque Analysis Box see the manual of the Torque Analysis). If you are using MS Windows: Press “Start“ button, open “Control Panel“, open “Network and Internet”, select “Network and Sharing Center“, click “View Network Connections“, click on the connection you need to change (i.e. LAN), open “Properties“, double click on “Internet Protocol Version 4 (TCP/IPV4)“ and insert the chosen IP address. Please insert a different IP address than that of the Torque Box. Just change the last or the last two numbers of the Torque Box IP (e.g. 192.168.0.89). Otherwise there will be a conflict of the IP addresses.
Network settings in windows


The “Predefined File” tab

- Automatic Markers
- Under Automatic Markers you can activate or deactivate the automatically setting of markers at the beginning and at the end of every step. These Markers will appear in the saved file in the same way they are appearing in the SRM-Software.
- What to do with next / prev. Button
- At the What to do with next / prev. Button, you can choose between two functions.
- When activating go to next / prev. Step, please go to the previous or the following programmed step by clicking of Prev. Step or Next Step during the test.
- When activating go to next / prev. marked Step please go to the previous or the following programmed marking by clicking of Prev. Step or Next Step during the test. You can set those markings by checking off Time.
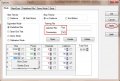
The “Demo Mode” tab
By enabling the Demo mode you can generate a ranking list. That would be appropriate for the usage at expos or other demonstrations. One important condition for it is that you create at least one category at the Demo mode tab. With the right mouse button, you can add a New Category and create the desired entries for Name, Watt, Tolerance and Time. The Tolerance has only a graphical meaning during the Demo tests.
DThe results of the performed Demo – Ride will be sorted under four different perspectives:
- Steady Power: How even could you hold a preset power value?
- Max Power: How high was the maximal power output?
- Max Distance: WHow high was the maximal covered distance?
- Race
The “Extra” tab

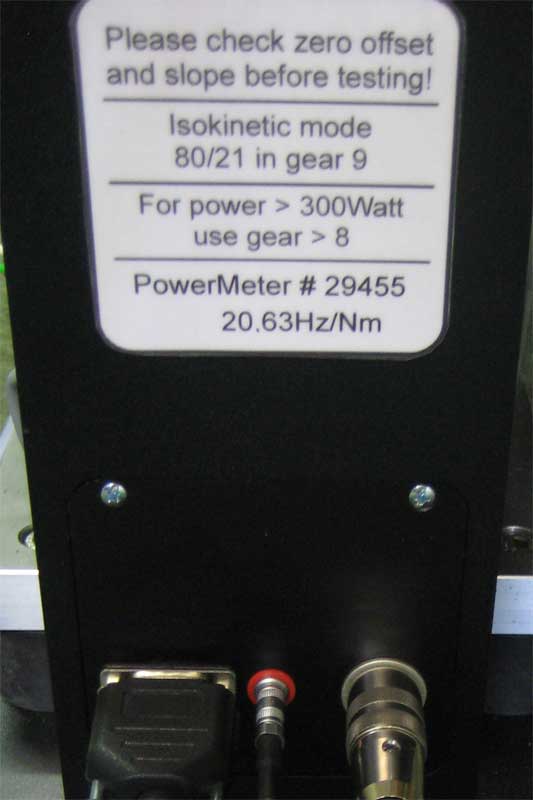
- Gearing Isokinetic Mode:
- Under the “Gearing Isokinetic Mode” you can determine the setting for the isokinetic mode.
- Variable
- You have to activate Variable if you want to run the Ergometer in isokinetic mode and independent of the adjusted gear.
- The Ergometer automatically determines the speed limit on the basis of the adjusted gearing. This limit and thereby the torque can be influenced by vibrations. That’s why it is not so steady as if you would adjust fixed gearing.
- Fixed
- To allow an adjustment of the cadence during a steady angular velocity of the fly masses or if you need a fast adjustment of the eddy current brake, please activate Fixed (fixed gearing).
- The user defines the gearing with which he wants to ride the isokinetic test. The torque is held very consistent in that mode. The torque is only correct if you have chosen the right gear. At the current ergometers the setting of the gearing is adjusted at 80/21 in gear 9 (see sign). Older ergometer can have a different gearing and with a change of the chainrings the gearing will change as well. The new fixed gear must be entered accordingly in the Fixed box.
- If the fixed gear is not known or the cadence deviates from the specified isokinetic test profile, the gearing may be readjusted or corrected based on various experiments (trial & error). For this purpose, in each case only small changes to one or both values should be performed.
- At Testend
- Here you can set an automatically storage of your SRM- training file on your computer. Even when you click no, the training file will be saved onto your PowerControl and can be downloaded later. The training file will only be saved on the PowerControl as long as if there is enough free disc space available.
- Stop Ergo Button
- If the Stop Ergo Button is activated, the Ergometer stops when there is no more cadence to be registered. At Test end means that this feature only works at the end of the test.
- Horse Mode
- This setting is for the measurements with horses. If Horse Mode is activated you can see only heart rate and speed on the monitor.
- Brake control options
- The following section is about the setting of the Ergometer brake.
- Control rate: Here the user can decide how long the brake needs to stop the Ergometer. This braking speed can be set in 10 steps from slow to fast.
- Fast: Ergometer stops immediately (0,5s)
- Slow: Ergometer brakes slowly (5s)
- Brake base values:With the basis values you can predetermine the target performance for the control of the eddy current brake. Please change these values very carefully because entering wrong values can result in a non-working Ergometer.
- Friction: Please set here the basis friction of the Ergometer at a speed of 30 km/h.
- Slope: Has only to be changed if the Ergometer brakes to fast or to slow. If the Ergometer brakes to fast you have to move the pointer further to the left and if it brakes to slow you have to move the pointer further to the right.
- Fixpoint: If the resistance is higher or lower than the target performance, you have to change the fix point. This is independent from the positive or negative change of the resistance.
- RESET Software
- Resets the control parameters of the Ergometer.